The Importance of What is Moisture Barrier in Roofing
It is the primary shield against rain, snow, and wind that invade your home. Unfortunately, the material and construction are not all that is needed for a roof to function correctly. In order to keep your roof dry and stay intact for a long time, moisture control is essential, so the use of moisture barriers are effective.
Having a moisture barrier in your roofing system is very important. A line of defense to keep water from penetrating, thereby protecting its framework underneath and avoiding costly repairs. If your roof is not properly moisture managed you may be opening the door to a number of potential issues which could include:
Water rot and decay: When water become trapped within the roof structure, wood beams, rafters and other structural components will begin to rot. Unfortunately, this breaks the structural integrity of the roof causing a dangerous situation.
Mold: As moisture builds up mold can quickly grow and spread across the roof, into your attic crawlspace or even through cracks in your home. Mold can destroy building materials and can be a health hazard to you and your family.
Insulation: When humid air from inside your home rises up into the roof, it can cause metal roofing to act as a condensation point. This condensation will drip conductive materials are not contained and insulations and ceiling material can be wet.
Ice dams : Melting snow can freeze at the eaves in cold climates, creating ice dams that prevent water from flowing off the roof. They result in huge amounts of water being prevented from running off the roof, and then backing up under the shingles, back into the structure of a roof causing leaks and damage.
In short, a good moisture barrier is an important investment to keep your roof working the way it should for a long time. It will make sure that your roof stays strong, hardy and problem free by keeping moisture out & controlling vapor transmission!
Don’t Miss Our Ultimate Guide: What Every Homeowner Should Know About Roofing: A Comprehensive and Essential Guide 2024
What Moisture Barriers Do For Your Roof
In a nutshell, moisture barriers serve as an essential arm to keep your roof dry and your home protected. These products provide three-in-one protection securing your roof from the outside with moisture and inside with vapor transmission.
Water Infiltration Protection
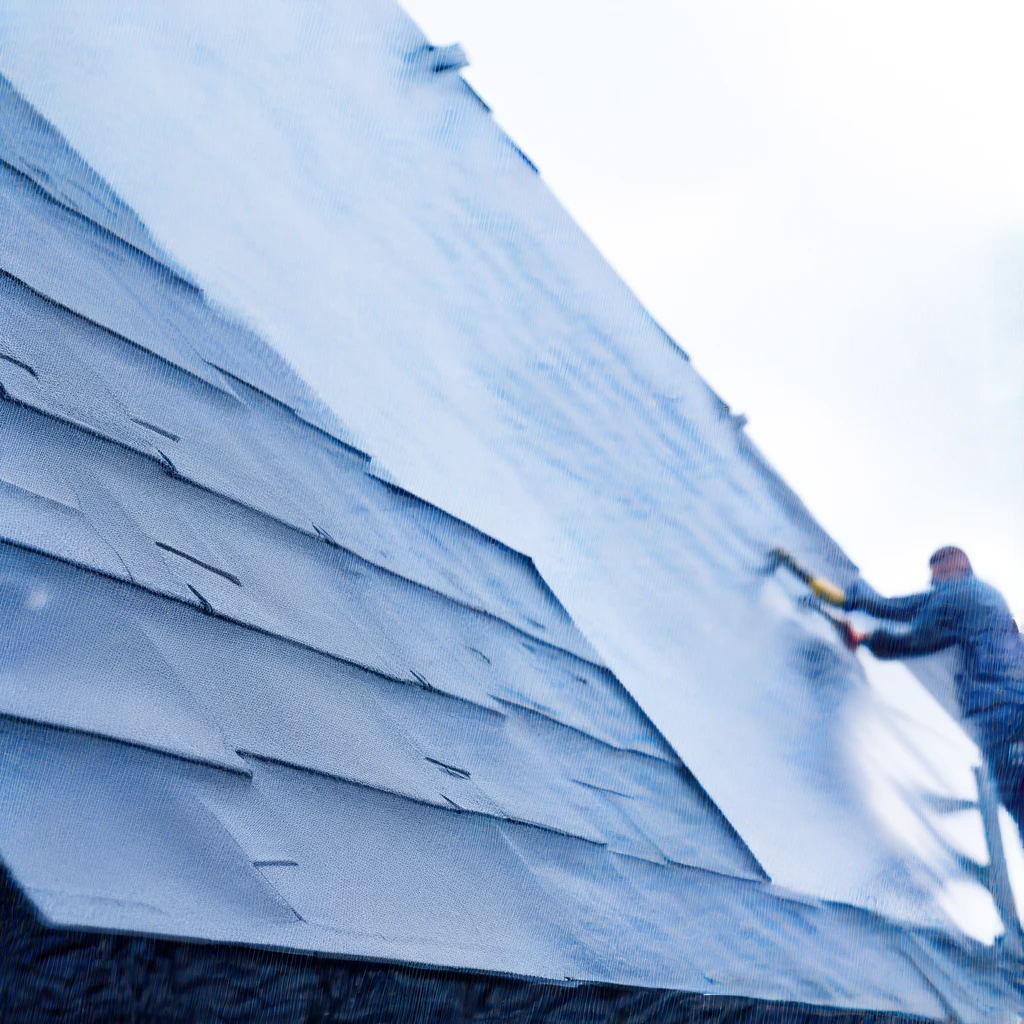
Preventing water from getting in the roof structure is the primary goal a moisture barrier. This is especially key for storm-prone areas such as rainy, snowy or wind-driven rain regions. Moisture barriers are usually applied under the roof covering, creating a redundant layer, allowing water to be drained away from the structure. When you install a new metal roof, the deck is ready for the roofing underlayment. The material used is either felt or synthetic and comes in different weights to suit your specific job requirements.
Wind-Driven Rain Resistance
Rain — driven by high winds can be forced under roofing materials, even on sloped roofs. This eventually results in leaks and foul consequences if the roof deck is being unprotected. Synthetic underlayments in general tend to resist wind-driven rain better than traditional felts do, with the high-performance ice and water shields offering a higher level of protection. They are built with durable materials and designed to fit over one another, serving as an impenetrable barrier for water to get through into your roofing system.
Ice Dam Prevention
The harsh Canadian winters can also cause snow melting on the roof, ice dams forming at the eaves… The reverse slope of Basque dam traps water and causes it to stand under the shingles that can lead to eventual entry into roof structure. A moisture barrier, particularly an ice and water shield at the eaves will keep the most common ice dams from occurring. Because it is virtually self-adhering, the barrier forms adhesion tenaciously to every underlayment on this side watertight shingle edges and windward surfaces making certain the home stays dry no matter what!
Condensation Control
Condensation happens when warm, wet air from the home meets a cooler surface such as under a metal roof). The water in the air starts to cool and condense into droplets– which can drip down, wreak havoc on insulation, ceiling materials or even the roof structure itself. Moisture barriers, particularly those which have a vapor-resistant layer minimizes the introduction of condensation by avoiding warm, moist air from hitting on the roof’s colder inside surfaces. They work to stop the flow of vapor while slowing it down, so Conglet®APAN Pro reduces condensation.
Types of Moisture Barriers
Selecting the appropriate moisture barrier is very important when it comes to how your roof system functions. There are various types of moisture barriers based on their unique quality and applicability for use in different roofing environments.
Roofing Felt (Tar Paper)
Tar paper (also called Asphalt-saturated felt) is a more traditional roofing underlayment used for years. It is essentially layers of organic or fiberglass matting coated in asphalt. Tar paper provides only a modest level of moisture protection, for one thing but also tears and becomes brittle in the sun It’s also not as well-suited to resistance against wind-driven rain or ice dams. While it as cheap and known material being use in some roofing projects.
synthetic underlayments
High-performance synthetic underlayments are increasingly popular. They Are Non-Organic And Made Of Fiberglass, Polyester Or Polypropylene These underlayments are less prone to tearing and punctures, provide better water resistance and will help protect against wind driven rain & ice dams. They are less likely to have mold or mildew issues which means they last for many more years than a traditional roof.
Ice and Water Shields
Ice & Water Shields higher performing, self-adhered membrane made to use exclusively in crucial zones around your roof surface as the eave sides, valleys and around entrance’s. The rubber adhesive backing usually butyl creates a tight bond to all surfaces, along with the roof deck this ensures no water comes into the underlayment from fasteners or other penetrations. The Ice and water shields is also useful in areas vulnerable to ice dams where the use as a secondary layer over conventional underlayments can help prevent those damaging events. These are a blend of asphalt, polymers and fiberglass making them seamless and impenetrable to moisture.
Foil-Faced Membranes
Foil-faced membranes are sometimes used with insulation to add a reflective barrier that reduces radiant heat transfer and lowers energy expenses. A layer of reflective material —usually aluminum foil—helps to reflect heat back to its source. Although these membranes are not technically moisture barrier products, if they are reflective, that feature least can reduce the temperature difference between roof and home interior—helped by HVAC or other artificial barriers when needed.
When it comes to choosing the best moisture barrier for your roof project, there are many different things you may need to consider: from climate zone, roof pitch and roofing material type as well as budget. Speak with one of our roofing representatives and we can help ensure you are making the right decision for your home.
How to Choose the Best Moisture Barrier on Your Roof
The type of moisture barrier that is right for you and your home depends on different factors such as the kind of roof you have, what climate do you live in? Key considerations in your decision:
Climate Zone
The Typical Moisture Barrier for the Climate Zone Governing Your Area In humid climates you will be needing a moisture barrier to do an effective job at keeping the roof structure safe from water vapor. Ice dams are a major cause for concern in colder areas with heavy snowfall, and an ice & water shield will help prevent these.
Hot and humid climates: Synthetics and high-performance ice and water shields are excellent due to their resistance to wind-driven rain so long as portability is not an issue.
Cold climates with heavy snowfall: If you have a cold climate with heavy snow fall then install ice and water shield underlayment everywhere, but especially near the eaves to provide an air tight seal over the warm side of your insulation, below your roof covering.
Moderate Climate: For synthetic underlayment or combination of tar paper with ice and water shields at crucial areas.
Roof Pitch
Comparitive to roof oracle,wetness obstacle system works on the grounds of roofing pitch. Moderate or steep roofs tend to be better-draining than low-slope roofs. However, anywhere wind driven rain or ice dams occur a moisture barrier will be beneficial even in steep roof areas.
Steep roofs: These may be used as a water-resistant layer — and even work very well for wind-driven rain on steeper roofs.
Low-slope roofs: Utilize ice and water shields or use high-performance membranes built for low slopes.
Roofing Material
The kind of roofing material may also affect moisture barrier choice. Heaps of things to consider, such as what type of roof is involved (metal roofs, for example, are more likely to attract condensation then tile or shingle roofs).
Metal roofing: A water barrier with a vapor-retardant layer might need assist decrease condensation on metallic roofing.
Tile or shingle: Synthetic underlayments or a combination of tar paper and ice and water shields are proper protections.
Building Code Requirements
 credit: polebarnsdirect
As a general rule, remember to always check your local building codes for the appropriate details on moisture barriers in your region. This is why eaves and valleys are usually areas built according to very strict building code requirements, especially regarding moisture barriers.
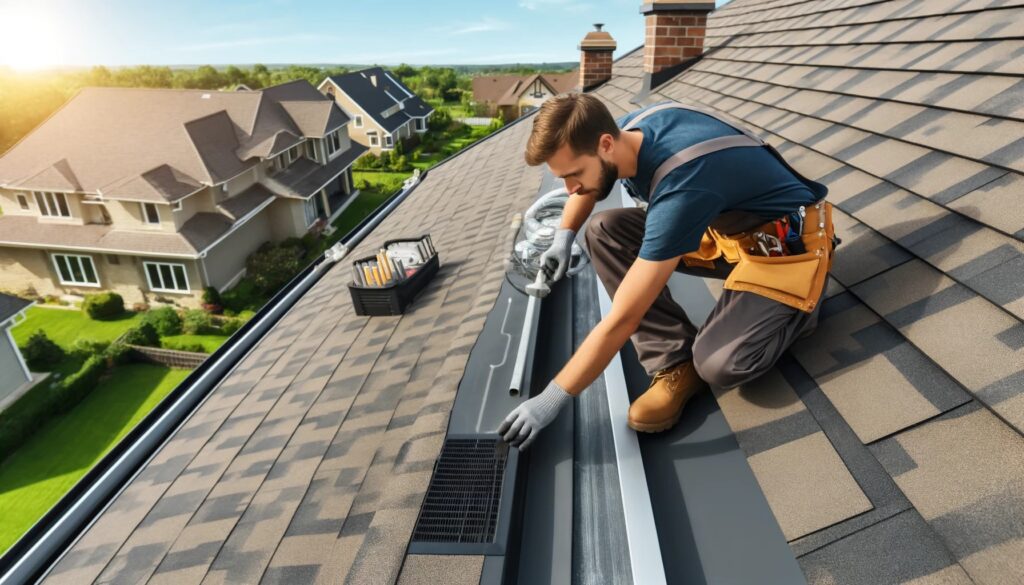
How to: Install a Moisture Barrier Step-by-Step
Adding a layer of moisture barrier in your roof deck is one way to help keep water from entering the structure. It involves preparing and applying for a waterproof seal carefully. This is a tutorial on How to Properly Install Moisture Barrier
Preparing the Roof Deck
You must prepare the roof deck thoroughly before you install moisture barrier. This means cleaning all debris, loose nails and old roofing material that may interfere with the adhesive of the barrier.
Sweep the roof deck: Use a broom or leaf blower to clear dirt, dust and leaves (while you are up there make sure all areas of your roof look undamaged.)
Loose Nails: Check the roof deck for any loose nails and remove using a hammer or nail puller.
Make repairs: Fill any gaps or holes in the roof sheathing by applying plywood or use other suitable materials.
Smooth any rough areas: Putty over anything on the surface that is not perfectly flat, as this will keep your moisture barrier from coming unglued.
Unroll the Moisture Barrier and Line It Up
After the roof deck is ready, unroll the moisture barrier and ensure it is aligned properly.
- Cut to length: Use scissors or a utility knife and cut the moisture barrier to size.
- Install at the Eaves: Always start an installation at the eave, which is usually lowest point of a roof.
- Align: Install each section of the moisture barrier in an alignment to the roof deck and overlapping with previously installed sections.
Securing the Moisture Barrier
This will secure the moisture barrier by connecting it to the roof deck. How is it sealed -well that all depends on what type of moisture barrier you get.
- Nail or staple: Secure the barrier with nails or staples (asphalt-saturated felt and some synthetic underlayments). Install using roofing nails or staples designed for that product.
- Adhesive: As part of the underlayment family, ice and water shields benefit from a seal to bond with the roof deck. Remove the release liner and press the barrier firmly.
Overlapping and Sealing Seams
Overlap the seams of moisture barrier material and seal(the elbow grease part!) to create water tight barriers.
- Overlapping sections: Overlap each section of the moisture barrier by 6 inches, in order to have a seamless barrier.
- Seal seams: Specialized Roofing Tape helps seal up the seams and keeps water from seeping in.
Proper Ventilation
Once installed the moisture barrier, you have to provide proper ventilation as well as no any water should be collected within the roof structure. Ventilation ensures air can circulate, and helps extract moisture from the room preventing condensation and reducing potential for mould growth.
Maintaining Your Roof’s Moisture Barrier
While a properly installed moisture or ice barrier is key in the life of your roof, it’s still important to have frequent maintenance and inspection done to maintain its integrity. Identifying these issues now, means you can have them repaired before they lead to moisture damage and costly repairs.
Regular Roof Inspections
You should consider roof inspections as part of your on-going home maintenance, particularly following periods of heavy rain or snow. These inspections will help you recognize any visual alerts that your crawl space insulation is wet or failing.
- Check for leaks Look for water stains, discolorations and or dampness on the ceiling of interior surfaces most likely near to eaves, valleys as well around Pipe fans.
- Check the flashing, inspecting any flashings at chimneys, skylights and vents for signs of rust, corrosion or gaps.
- Inspect for lost tiles, seeing if you are missing any tile or not, also check each shingle to confirm it is securely kept.
- Review the underlay, checking to see if you can find a way to get into your roof crawl space or even attic and examine the moisture barrier in case there are rip-offs, water seepage, or damage.
Signs of Moisture Damage
The effects of moisture damage differ and range wide. They tend to show some blatantly clear signs:
Stains on the Ceiling or Walls: Dark spots are signs of a water leak.
Mold growth: mold is black fungus growing on damp walls or ceilings
Decomposed wood: Water can saturate the trim and cause it to decompose over time.
Musty Odor: If you are noticing a musty or mildew-like smell coming from your roof, it may be because there is moisture where it does not belong in the structure of your roof.
Peeling, cracking or blistering paint: If you have moisture trapped in the walls and ceiling of your home, then it can cause the paint to peel down.
How to Stop Moisture Issues for Good
When you act proactively, it will eventually stop the moisture from ruining your roof in future and thus keeping its integrity intact for a longer period of time.
- Keep gutters clean: If the gutters are filled with debris, water can spill over them, backing up under your shingles.
- Cut back trees close to the roof: The overhanging branches can catch debris too and leaves this unsightly things build-up being ready for water at least on drop off the branch and near guaranteed not make it further ( get a tree surgeon all in order to save a diy disaster!)
- Provide adequate ventilation in the roof attic and crawl space to remove moisture.
- Solve the repair problems timely by repairing your roof from leaks, damages right away.
- Every couple of years, have a professional come out to inspect it for any potential issues. 11.
A good roof is an important piece of your home’s overall structure, and it needs to be a high priority when it comes to taking preventive action. Understanding the significance of moisture barriers, applying good installation methods and maintaining a regular maintenance schedule can help to ensure your roof stays strong, dry and lasting for decades to come.
Conclusion – Keeping Your Roof Dry for Years to Come
Having a well installed and maintained moisture barrier is a key ingredient to a decades – long life span of your roof. If you want a daylong, hardy and reliable roof for long term, care of your home then it will protect your home for years to come
Key Takeaways
So, here are somemoisture barriers key takeaways you should keep in the back of your mind.
- Moisture control is critical: Too much moisture in your roof can cause serious problems such as rot, mold, condensation and ice dams.
- Moisture barriers are an essential defense: they serve as a barrier against water intrusion, wind-driven rain and ice dams, protecting the roof structure from moisture related damage.
- Installation is KEY: Install as per the manufacturers instructions and bests practices to gain maximum performance.
- Keep Up With Normal Inspections: Regularly check your roof for any leaks, damage of moisture issues.
Seek Professional Advice
Roofing is also one of the most expensive things in houses, so it’s always advisable to get some professional opinion when it comes to prolapse your roof. The roofing contractor you choose will assist you in determining your house wetness protection needs in and the advocated use also assures proper utility strategies
With the help of installed and properly maintained vapor barrier you can save your home from its harmful impact and can be able to secure one reliable shield against outer world for many long years.
Frequently Asked Questions about Moisture Barrier
Should I install a Moisture Barrier on my roof?
To put it plainly, every roof does not need a moisture barrier but most do as the moisture will eventually cause problems down the line — depending on where you live or what roofing material is used. A moisture barrier is essential if you live in a humid area with heavy snowfall, have a metal roof or to prevent against ice dams and condensation.
What Type of Moisture Barrier is Great for My Roof?
The appropriate moisture barrier will vary depending on your climate, the pitch of your roof, what type of material you are using on top and local building codes. Synthetic underlayments or high-performance ice and water shields for humid climates Ice & water shields are a must in cold climates that have snowfall. As general information only, this advice isn’t one-size-fits-all and should always be backed up by a discussion with your roofer.
How Often Should I Check The Moisture Barrier In My Roof?
It is vital to inspect your roof routinely for the presence of moisture. Perform a yearly inspection, especially after heavy rain or snow fall. More Checks in Harsher Climates If you reside in a very harsh climate, it may be a good idea to have your system checked ever several months. As well, an experienced roofer can perform a maintenance check every couple of years to keep you updated on any concerns.