Using Semi-Gloss Paint for Easy Maintenance: How Semi-Gloss Paint Can Adapt to All Homes
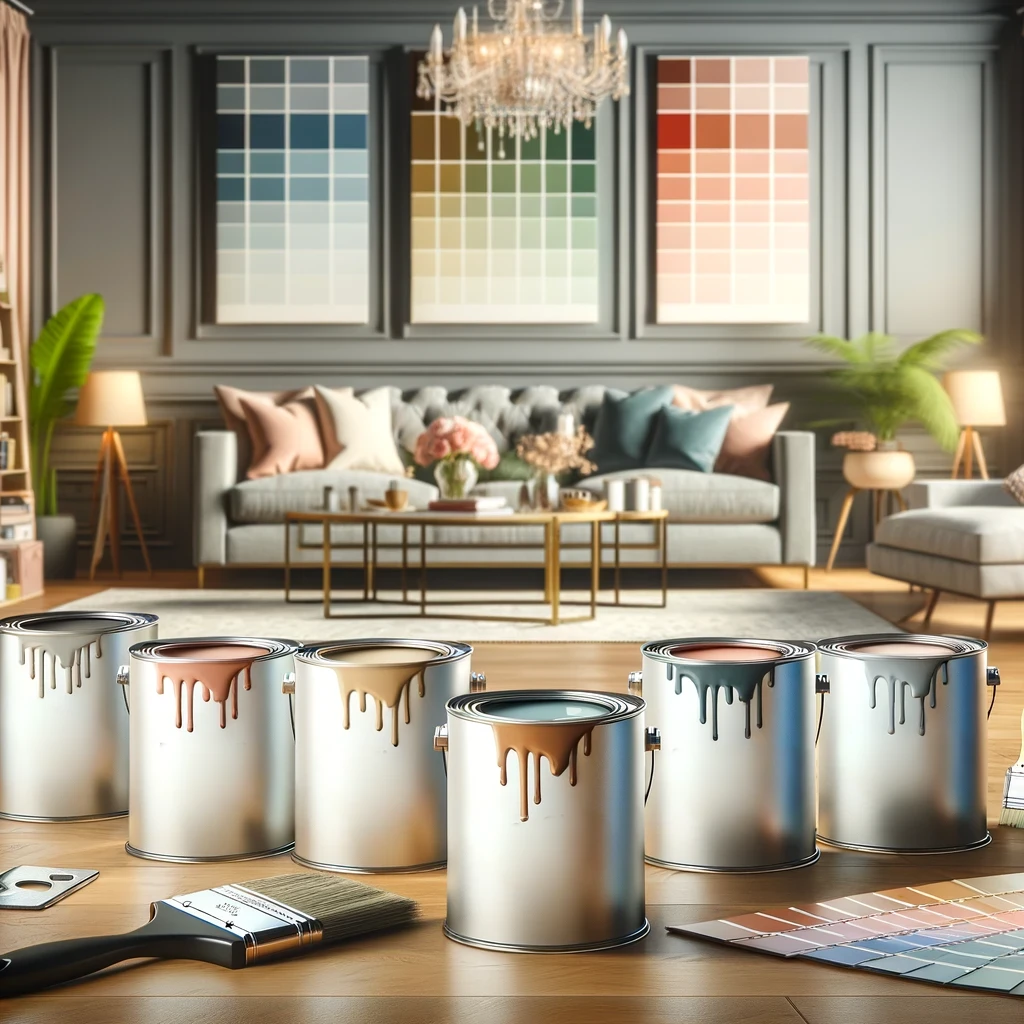
There are so many choices it can be intimidating to select the best paint finish for your house. Read on to discover the characteristics and benefits associated with each finish, from flat to gloss. Semi-gloss — Often considered the optimal sheen because semi-gloss offers a nice balance between durability, ease of cleaning and a bit more shine than flat. This quality and durability has made it a favorite among many homeowners due to its optimal balance of form and function.
Semi-gloss paint has a sheen level between 35% and 60%, delivering an elegant shine that translates to durability. This sheen works well in any high-traffic space that comes into daily contact with scuffs, spills and bumps (e.g. kitchens or bathrooms). We can easily wipe off dirt, fingerprints and even some oily substances from these using a damp cloth, resulting in less odour around the house.
Easy to Wash Semi-gloss paint have more washability than flat and can also be considered as the traditional wall painting material for this easy-to-clean attribute. Scuffs, scratches and even some minor stains can be washed away without removing any paint or damaging the luster. All of these strengths make it a sensible option for homes with children or furry animals, as walls can often show the signs of daily life.
While semi-gloss is best suited for kitchens and bathrooms, it can also be used in other areas of the house. It is best used for:
- Trim: Semi-gloss paint offers the durability and cleanability of DTM for doors, window frames, baseboards and molding. The semi-gloss finish on the trim achieves sleek, professional results matching any design style.
- Furniture: Restore dull furniture pieces, cabinets and built-ins with semi-gloss for a sheen that is always beautiful. The semi-gloss paint resists scratches, stains, and wear on furniture surfaces by increasing their life force.
- Designer Trick: Show off certain parts of your home with semi-gloss paint for a burst of color and additional depth. Whether it be a statement wall or decorative accent, this could also mean bold use of trim detail.
A low-luster, composition paint for aesthetics that are not quite as reflective as their glossy counterparts. This makes it a great choice for most places inside the home, but because of its durability it is especially ideal for areas that receive heavy foot traffic.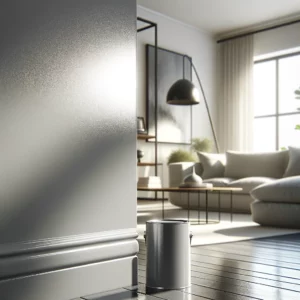
Semi-Gloss Paint vs. Different Paint Finishes: Picking the Perfect Sheen For Your Needs
In order to show you why semi-gloss paint is preferred by so many people, i will compare it with other major type of finishes in color:
| Paint Finish | Sheen Level | Pros | Cons |
|---|---|---|---|
| Flat | < 2% | Conceals surface imperfections; offers a soft, muted look | Less durable; difficult to clean; more susceptible to stains |
| Matte | 3-5% | Similar to flat but with slightly more sheen; slightly more durable | Less durable; difficult to clean; more susceptible to stains |
| Eggshell | 5-10% | Offers a soft, subtle sheen; easy to clean | Less durable than semi-gloss or gloss; may highlight imperfections |
| Satin | 10-25% | Offers a soft, velvety sheen; easy to clean; more durable than eggshell | May highlight imperfections |
| Semi-Gloss | 35-60% | Durable; easy to clean; moisture resistant; offers a subtle shine | May highlight imperfections |
| Gloss | 60-85% | Extremely durable; easy to clean; highly reflective | May highlight imperfections |
| High-Gloss | > 85% | Extremely durable; easy to clean; highly reflective | May highlight imperfections |
To wrap things up, semi-gloss paint is a good mix of each type. It gives a slight shimmer for a glossy effect but not overly reflective. This makes it a great option for most areas of the home, especially ones where tearing might be an issue.
Here we will further discuss some variances among semi-gloss and other well-used finishes:
SemiFlat vs Semi-Gloss Paint: Flat paint is the chameleon of the paints. But its low luster finish is not as hard-wearing and harder to clean with the actual absorbency of any staining. Semi-gloss, on the other hand, is a far more better-suited selection for places that get lots of traffic and have high durability or cleaning needs. The subtle glitter also reflects light further which in turn lifts the room making it a more attractive option.
Eggshell vs. Semi-Gloss Paint: Eggshell paint is less shiny than semi-gloss, and it looks great in living rooms and bedrooms. It is easier clean than flat, but not as durable compared to semi-gloss. Semi-gloss is best for kitchens and baths; its smoother finish stands up to scrubbing better.
Satin Paint vs. Semi-Gloss Paint: Satin paint is also in the realm of a glowing or semi-glossy finish offering some good cleanability. However, its shine level is not as high as is the case with others which means it may well be easily damaged and that any defects in your floor will be pretty obvious. Because semi-gloss paint is the driest and most durable finish of them all, it holds up to wear and tear better than any other sheen, making it ideal for high-traffic areas.
To explore other finishes, check out our comparison of Eggshell vs. Satin Paint.
Difference between Glossy and Semi-Gloss PaintGloss paint is also the best option for walls etc chores because it’s easier to clean with a damp piece of cloth. But, its high reflectivity may lead to correct representation of flaws on the surface. Semi-gloss paint has a duller shine to it, which is perfect for when you maybe do not want the imperfections to be as obvious.
It really is a matter of what appeals to you, and those special concerns we mentioned when talking about different rooms in your home. For most homeowners, semi-gloss paint ends up being the middle-of-the-road choice that combines durability with cleanability and a slight shine.
How You Can Prepare for Semi-Gloss Painting
If you plan to paint with semi gloss read this, correct preparation is crucial to afford a smooth finish and also get the final product that will last longer. A good foundation is key to your painting project, a properly applied surface will allow the semi-gloss paint to stick precisely and give you a perfect finish.
A Complete Guide To Preparing Surface For Semi-Gloss Paint
1. Cleaning the Surface:
- Scrub away: Using a sinking wet sponge and mild detergent or sugar soap, clean off all the dirt, grease and grime of your chosen area to paint. Some areas with regular build-up, such as door handles and lightswitches Cleaned carefully…
- Treat mold or mildew: If there is any, clean a surface with bleach solution or vinyl-safe mildewcide and make sure to use the seven steps above before doing anything else. When working with bleach, poverty be sure to use it in an adequately ventilated area and wear rubber gloves.
- Scrape or sand down all loose paint This will make the surface smooth and even so that the semi-gloss paint can stick to them better.
2. Sanding the Surface:
- Sand Down Rough Surfaces: Use fine grit sandpaper to gently and carefully sand down any rough patches and imperfections. This step becomes even more crucial when painting over a semi-gloss surface, as the glossy finish can slide off and out of its outer walls.
- Sand lightly the surface to have a grain: Lightly sand the whole surface in order to obtain a moderated smoother and slightly textured surface. Proper sanding will allow the new coat of semi gloss paint to stick much easier, creating a finish that could last for years as opposed to minutes.
- Dust after sanding: After you’ve sanded the surface, wipe it clean with a tack cloth or lint-free rag to remove any sanding dust. Not removing every last bit of sanding dust on the surface can make for poor paint adhesion, resulting in a less than ideal finish.
3. Priming the Surface
- Primer is a must: Never purchase foil gloss without using a primer, particularly when painting over existing paint or wood. A primer has a few very important goals:
- Better Adhesion: Primer acts as a base layer that will allow semi-gloss paint to bond with the surface preventing it from peeling or chipping.
- Better Coverage: Primer provides a consistent base, allowing the paint to cover the surface evenly and effectively, especially when dealing with darker or stained surfaces.
- Cover Stains : A layer of primer will help shield stains from coming through the semi-gloss paint.
- Select the right primer: Choose a primer that is made for the surface you are painting. For instance, a primer made for wood or materials canceling moisture intrusion will provide superior protection and adhesion.
4. Other things for prepping:
- Taping off Paint: If having any trim, windows or doors is something you don’t want to paint and have them painted in a specific way for whatever laser focus cubicle of your life you use that sh*t on the walls for now is all good. It helps with keeping lines clean and to avoid accidentally hitting unwanted painting areas while painting.
- Drop cloth: Cover your floors and some furniture with a drop cloth to reduce the chance of spattering paint and spills.
- Ventilate properly: Make sure you always have proper ventilation where you are painting to prevent fumes from accumulating.
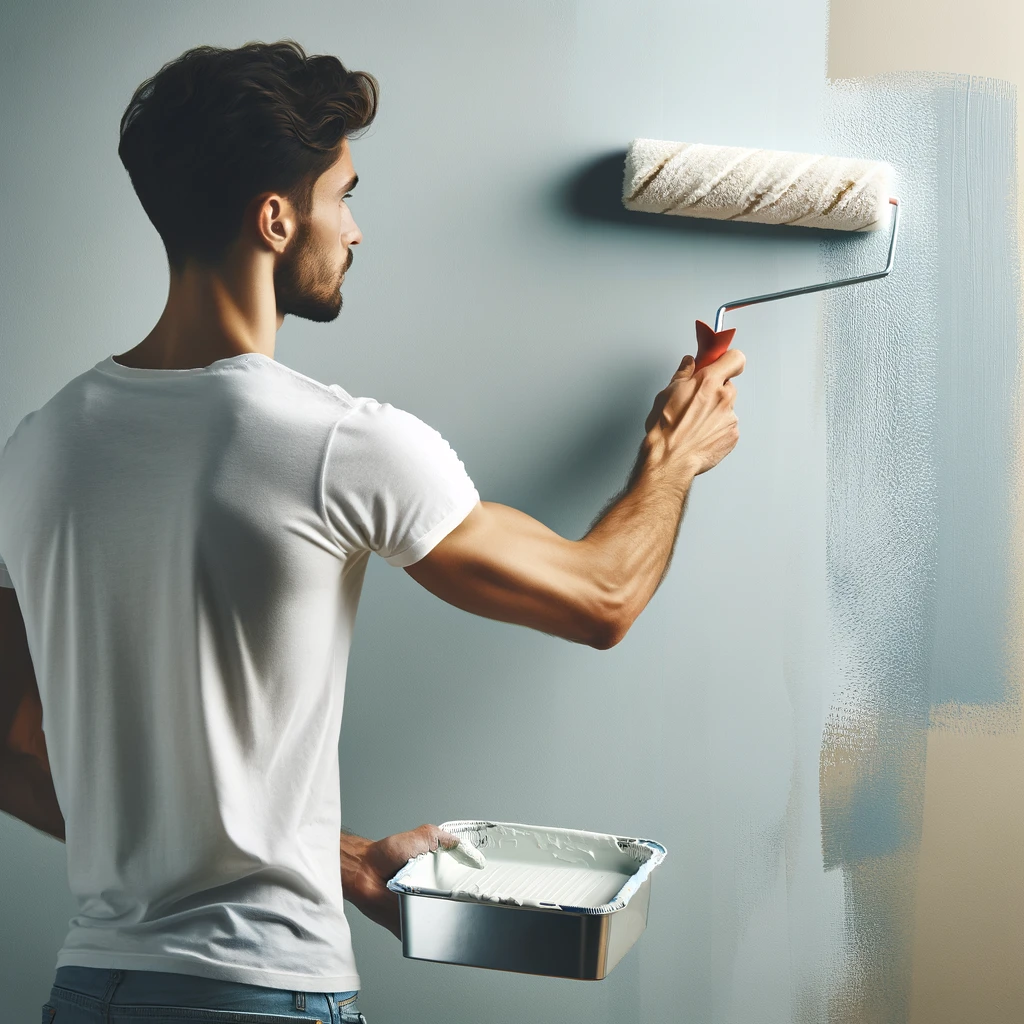
How to Paint With Semi-Gloss Paint like a pro with these pro tips to make semi-gloss paint work for your walls.
Having properly prepped your surfaces, now comes the fun part — applying your semi-gloss paint. Correct application procedures are necessary for a reliable, light and also long-lasting finish.
How to apply semi-gloss paint like a pro
1. Choosing the Right Tools:
- Rollers are usually best for big wall spaces, and they give a professional looking painting job with even coverage.
- Nope Its the nap length, The Nap Length is how long/thick/rough that roller brush material. Short-nap rollers (1/4″ to 1/2″) provide a fine finish and are best for smooth surfaces such as doors, trim or drywall These are great for rougher surfaces like walls and will provide a more textured finish, while 3/8″ to 3/4″ long nap rollers offer a smoother coverage.
- Tips for using a roller cover: Use good quality covers that are always recommended to be used with the type of paint/finish you have chosen as well
- Brushes are perfect for cutting in around edges, painting ornate moulding and getting a good result on smaller areas minutely.
- Use natural bristle brushes for applying oil-based paints & primers and synthetic bristles for water-based products.
- The size of the brush brushes depends on that area you are painting Use smaller brushes for cutting in, and larger brushes for bigger surfaces.
- Paint Sprayers: Paint sprayers are great for big projects that require plenty of paint to do the job quickly. They can deliver a flush end but needs to be used with extra caution which makes it impossible to overspray.
- Sprayers: Pick an airless sprayer for larger painting projects, such as walls and ceilings, or select a HVLP sprayer to achieve better quality results on cabinets or furniture.
2. Application Techniques:
- Rollers:
- Cutting In: “Cut in” around the edges of the area you are painting with a brush to maintain straight lines. This prevents the roller from running too close to the edges, and getting paint on a workplace that does not need it.
- The Best Rolling Technique: load your roller with paint, but don’t drown it. The paint must be rolled onto the surface in a “W” or “M” pattern with an extra smooth roll over in one direction.
- Strokes Overlap: Ensure 50% overlap of strokes.
- Brushes:
- Flood Coating: Use a brush, dip into the paint and wipe of any excess on the side of can. Short, even strokes paint a smooth line.
- Brushing: Brush gently with even strokes that overlap by about 50% when applying paint to your parklines.
- Sprayers:
- Surface Preparation: Clean sprayer according to the manufacturer’s instructions
- test spray opn a scrap piece of cardboard or plywood, adjust settings to ensure even coverage as well as proper paint flow.
- Spray Method: Spray the aerosol 10-12 inches apart from your skin and continue for a few seconds. Overlap each pass by 50%.
3. Finishing is Everything:Set up the surface with a finished primer for wallboards or drywall, finishing them first.
- Thinner the paint: Paint that is too thick will result in drips and other issues with uneven coverage. Thin the paint according to your manufacturer’s instructions
- Light coats only — apply thin, even coats of paint rather than 1 heavy coat trying to cover the whole surface. Inhibits Drips so Paint Can Dry Evenly
- Drying Time: Wait for the first coat to dry completely before applying the second. Drying times and recoat intervals depend on the product, so check the label of your paint can.
4. Additional Considerations:
- Smoothness: Although not the most important aspect, if you want it super smooth, use a high-quality paint and apply multiple thin layers. You may also want to work with a paint conditioner that will improve flow and leveling.
- Texture: To create a soft texture, use a brush or roller with slightly longer hair than normal, which will yield minimal marks and irregularities in the brushing.
Semi-Gloss Paint is Durable, Beautiful and Easy to Clean ( How You Can Use Semi Gloss For A Better Finish)
How to Paint Over Semi-Gloss Paint [Steps]
semi-gloss paint is more difficult to work with because of its glossy surface which makes it harder for the new coat or layer of paint to adhere properly. If you are going to repaint the walls of your home or perhaps a piece of furniture, it is very important that you give everything proper preparation so that when your project is complete it will not only look good but wear well.
A GUIDE TO PAINTING OVER SEMI-GLOSS PAINT
1. Sanding the Surface:
- Sand the semi-gloss: Lightly sand all of the semi-gloss with a fine-grit piece of sandpaper to roughen up the surface. This will give a slightly scratchy texture which helps the new paint bond better.
- Spot sand problem areas: Take extra time on spots that are prone to peeling or chipping, you will know these areas because they want not feel smooth after one quick pass of 220 grit.
- Dust the surface after sanding: After you have sanded, use a tack cloth or damp rag to wipe down all dust particles that can cause imperfections in the new paint.
2. Cleaning the Surface:
- Then get rid of any reside: wipe the surface area with a clean cloth soaked in sugar soap or mild detergent to eliminate any grease, grime etc. to guarantee a far better adhesion
- Check for gloss obstructions: Before reinstating the area, be sure that no more shine is left on your top. If the surface remains smooth to the touch, you may have to sand a bit more.
3.Priming the Surface:
- Use a bonding primer: A special bonding primer made for painted surfaces is your best bet. These bonding primers make your new paint bond tightly with the old semi-gloss coat.
- Use the proper primer: A “universal” primer can be used to prepare most painted surfaces, while others are specifically engineered for particular types of paint. A primer formulated for wood or other high-moisture surfaces provides the best protection and adhesion.
4. Applying the New Paint:
- Buy appropriate paint: Make sure you purchase a paint that is compatible with semi-gloss. For instance, if the current coat of paint is oil-based, then you should go for an oil based new coat as well You can go for a water-based paint if the current one is also water containing.
- Thin Coats: Apply your new coat of paint with thin, even coats and make sure each one is completely dried before you move on to the next This helps to prevent drips and assure good coverage.
Track drying period: If you have a paint can, find the experience and recoat periods. The color will need to fully cure before you can move forward with your space.
5. MORE SEMI-GLOSS PAINTED WALLS TIPS
- Preview or test a small portion of the paint: Before using new coat on whole, tryout them in little spot which not visible. This can help you search for color matching, coverage and adhesion.
- A paint scraper: If there’s peeling or chipping that won’t sand down, use a paint scraper to remove the loose stuff before going at it with your sander and primer.
If you follow these steps, you will ensure that your new coat of paint seals correctly over existing semi-gloss paint giving a fresh appearance it will withstand normal wear and tear. N.B: Preparation is the key for a successful painting experience
Informed thoughts on semi-gloss paint: Pros and Cons
At this point you probably know the differences, advantages and how to apply semi-gloss paint. A sturdy, easy to clean and pretty finish that complements the aesthetics of any part of your house. But, of course just like all paint finishes it has its own set of pros and cons.
So, we have summarized for you critical takeaways which will give you an insight of what to expect when using a semi-gloss paint….
Pros Of Using Semi-Gloss:
- Strength: Semi-gloss paint is durable and resistant to scratches, scuffs, and abrasion. This is especially convenient for high-traffic areas where walls and surfaces are subject to a lot of use.
- Easily Cleanible: The smooth, shiny finish of a stainless steel backsplash means that you only need to wipe it down. Wiping away smudges, fingerprints and even grease with a wet cloth will make the surfaces seem brand-new all of the time.
- Resists Moisture: If you are looking for a wonderful choice for areas that holds moisture, semi-gloss paint is an impeccable selection especially in the kitchen, laundry rooms and bathrooms. Its water resistance protects against mold and mildew formation.
Semi-Gloss Paint Cons:
- Can Highlight Flaws: High gloss can emphasize flaws on the surface. If your walls are not completely smooth, the semi-gloss finish could highlight those irregularities.
- Needs to be Prepared Carefully: To get a smooth and even finish with semi-gloss paint, it needs to be prepared very carefully — cleaned, sanded and primed.
- Not Ideal for All Areas : As much as a semi-gloss is perfect to use in highly used areas, it might not be the suitable choice for bedroom or living room where you prefer less glare.
Making the Right Choice:
Here are a few things to think about before deciding whether or not you want to use semi-gloss paint:
- The Room: Think about the room you are painting and what do you need from that room. Practical for kitchens, baths and trim work, semi-gloss paint presents an eye-catching finish—though it is probably not the best choice to use in bedrooms or living areas.
- Finish: Decide how you want get desired overall appearance. Semi-gloss: This sheen provides a slight shine which usually goes well with most decor.
- The Surface: The surface you will be painting If you are trying to cover a wall that has many imperfections a flatter finish may be better.
In the end, you may want to use semi-gloss paint or opt for another finish depending on your preferences and what suits your home best.
These are strange gray areas, if you’re not sure consult with a professional painter. They can offer professional advice, ensuring that you select the best color finish and achieve your home goals.
Semi-Gloss Paint: Your Questions Answered
Where to Use Semi-Gloss Paint
It is because semi-gloss paints are really strong that it is perfect for heavy-duty use including your kitchen and bathrooms which see a lot of water, steam and high traffic. It is also frequently used for milling trim work, doors, window frames and furniture where a glossy finish is desired.
What Sets Semi-Gloss Paint Apart from Other Sheens?
A semi-gloss paint has a sheen level of 35% — 60%, which means it is definitely less shiny compared to gloss or high-gloss and shinier in contrast with eggshell and satin. This give a nice medium level of gloss, making it durable resist dirt and easy to clean without been to shiny or show every defect in the paint.
Should semi-gloss paint be painted over?
The preparation is there, of course. Remove old paint using light sand paper to allow the new paint to adhere, clean and then prime with a bonder before painting your color.