How to Remove Old Flooring: Why Remove Old Flooring Before Adding New?
So, you are going to give your home that new look with new flooring. As thrilling of a project this is, not before you read on why it is so important to get your current flooring removed the right way. This is something that often is forgotten about, however, it is super important to get the best end result.
Picture it: Clean, polished surface – perfect for a new floor. Because when you spend time removing old flooring this is what happens. It guarantees that your new floors are going to be installed consistently and safely, which in turn can reduce the chances that you will face problems like shifting, cracking, or cupping down the road.
But that’s not all. Furthermore, old flooring must be removed to prevent any future problems with the material that it sits on top of. For example, if you are pulling up the entire carpet, you may find that the subfloor has advanced age issues–sagging, rotten or damaged, and/or that it is not level. Fixing the subfloor is a lot easier without the new flooring in place.
Types of Flooring and Their Specific Removal Policies:
- Carpet: Removing old carpet seems like an easy task however, tack strips are a nightmare on a concrete subfloor.
- Tile: More involved, as the tile has to be knocked off its mortar base. With a tougher adhesive some of the older tiles may be harder to get to than what you are able to do when the shower tile seems like it desires to slip from the wall.
- Vinyl/Linoleum: Heat is helpful as it can soften the adhesive of both vinyl and linoleum floors, making it easier to remove. But, you also have to be cautious of the asbestos hanging out in the old floor materials that would have to be addressed carefully.
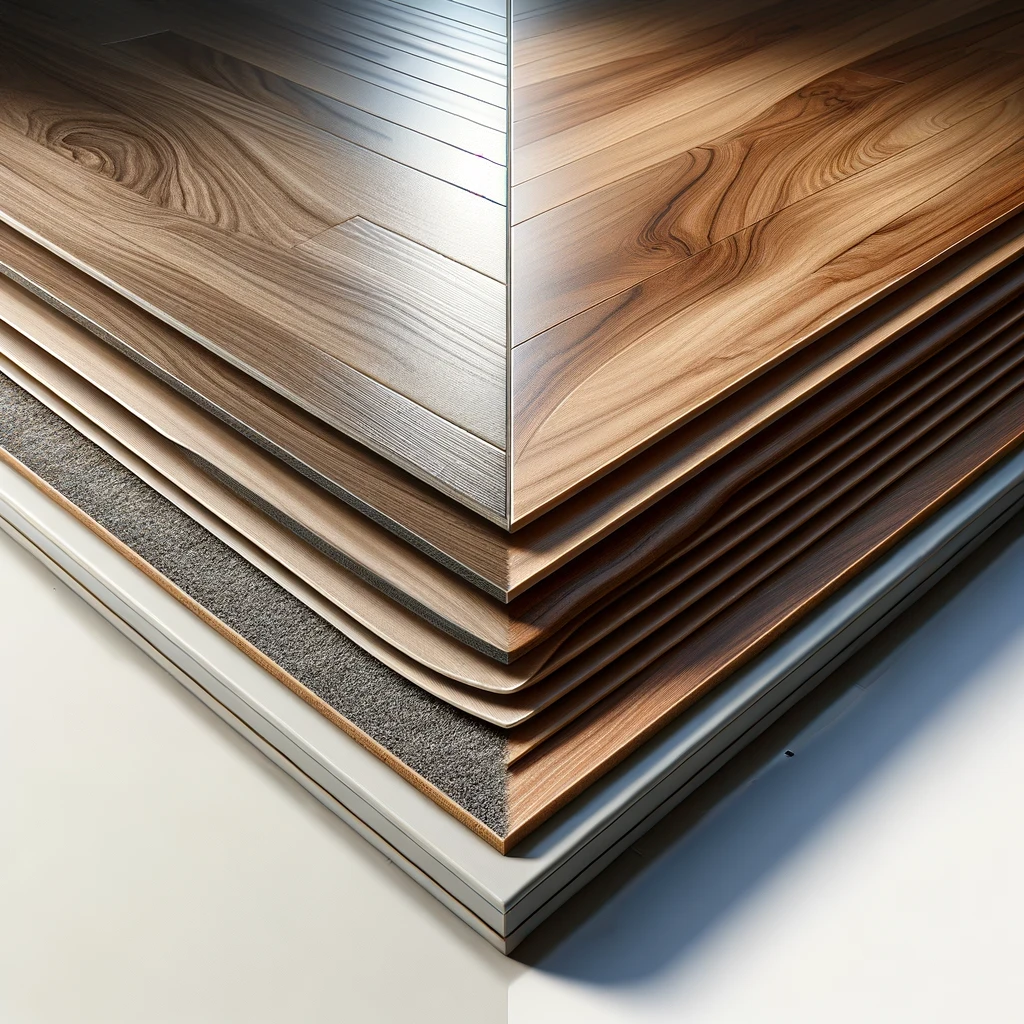
- Laminate: Laminate is considered an easy-install product, but removal can be a little more challenging. To prevent from damaging the subfloor, the clips that hold the planks together have to be carefully pried loose.
-
Hardwood: Ripping up hardwood can be done by prying and cutting using a circular saw, or even pulling up the nails. With any luck, the floor is the original hardwood and you can refinish it!
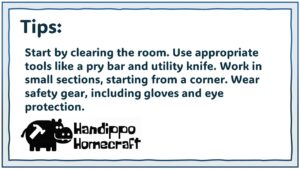
As you remove flooring this week, be sure to think of safety first. Tools Are SharpAnd Old Flooring Can Contain Hazard Materials such as Asbestos. Always wear the proper safety equipment, i.e. goggles or sunglasses, a mouth covering and gloves.
For detailed information about home flooring, don’t miss our Flooring Face-Off: What is the Most Popular Flooring in 2024
Remove Tools for Flooring Removal and List of Safety gear
Ahead of the job of removing old flooring, it is important that you collect the tools and make sure that you are in your protective gear. The right tools make the job MUCH easier and MUCH safer for you. Consider this going in prepared to battle for smooth floor removal.
Just like you need a screwdriver in order to put together a new IKEA bookshelf. Here’s a checklist of essential tools you’ll need:
- Pry Bar: Get this to be able to lift and splinter various types of flooring.
- Hammer: For giving to the other finish of the pry bar as you apply it handle up, used particularly on reluctant flooring.
- Utility Knife: To cut carpets, vinyl, and linoleum into easier to handle sections.
- Circular Saw: Hardwood flooring and underlayment removal. — Provides the power and speed needed for a hardwood flooring cut.
-
Gloves: Shield your skin from wood splinters, jagged lego edges, and potential cat allergens.
Further tools, according to the type of flooring.
- Chisel: Useful for tile and mortar.
- Heat Gun: Necessary for loosening adhesive on vinyl and linoleum floors.
-
Floor Scraper: Adhesive residue and debris removal
Now, let’s talk about safety. Removing flooring can expose you to dust, allergens, and possibly harmful substances. Important safety gear list here:
- Eye Protection: Goggles or safety glasses to protect your eyes from flying debris and dust.
- Dust Mask: A respirator mask that can aid in filtering dust particles, which is particularly helpful for the older flooring materials.
- Hearing Protection: Earmuffs or earplugs help prevent the sound of powered equipment from doing damage to your hearing.
-
Knee Pads: allows comfortable flooring as it cushions and supports your knees while weeding.
Always remember, these tools and safety gear are your tools to help you win in a safe flooring removal.
How to Remove Old Flooring: Various Types of Flooring
Now that you have all of the tools you need to remove any flooring, lets go over how to safely removed some different types of flooring. Finally, all three types pose very specific challenges, so obviously it is important to know what each variant is and which techniques to use.
Carpet Removal
- Required Accessories: Pry Bar, Hammer, Utility Knife, Gloves
- Steps:
- Clear your space: Move Tables, Stuff on Floor
- Slit the Carpet: You can use a utility knife to slit the carpet into smaller strips of carpet, creating straight lines as these run parallel to the walls.
- Pull Up the Carpet: Grab the edge of the carpet at a corner and pull it up; you may need a pry bar to lift the edge of the carpet. If necessary tap the pry bar with a hammer for some added leverage.
- Pull Up Tack Strips : Use a pry bar to carefully tug tack strips loose; a concrete subfloor might have them stuck pretty well.
-
Carpet Disposal: Recycle and responsibly dispose of the carpet in accordance with local regulations.
Tile Removal
- Supplies: Chisel, hammer, pry bar, gloves, dust mask, eye protection
- Steps:
- Empty the Site: take down any light fitting or obstructions
- Find the Mortar: Find out whether the tiles were installed with adhesive or mortar.
- Chisel and Hammer: Position the chisel at a perpendicular angle at the edge of a tile and hammer it slowly towards an angle to break the tile along with the mortar in little pieces.
- Demolish Tile and Mortar: Broken tiles and mortar should be removed with a pry bar or shovel and disposed of in a your bucket or your builders skip.
-
Subfloor Cleansing: Wipe off any remaining particles and residue from the subfloor.
Vinyl and Linoleum Removal
- Supplies: Heat gun, pry bar, utility knife, floor scraper, gloves, dust mask, eye protection
- Steps:
- Look for Asbestos: for flooring laid before 1980, test for asbestos before starting
- Heat the Floor: Warmth the adhesive with a warmth gun, repeating with small sections.
- Lift and Separate the Vinyl or Linoleum: With a pry bar, pry up the flooring, starting at a corner and dividing it from the subfloor.
- Scrape Off Residual Adhesive: A floor scraper should then be used to scrape off the adhesive that has been soaked away.
-
Subfloor Preparation: Ensure all debris and other materials are removed from the subfloor.
Remember these are steps in general. Find more about the safety precautions of your flooring model by referring to the manufacturer directions.
How To Remove Floor Glue And Adhesive
You have already managed to get your old flooring out of the way but are still far from done. Make sure to remove any adhesive residue so that you are left with a nice clean, flat surface for your new floor. Skipping this step can cause your new floor to new to become warped or have cracks and unevenness. Now, you could always use one of the following methods to remove the adhesive, each carrying pros and cons. There three are most common techniques.
Scraping
- Tools:Floor scraper, Putty knife, Chisel
- Steps:
- Trigger Adhesive: When accessible applies temperature over that trigger adhesive before removing.
- Scrape it off: Scrape the softened adhesive off with a floor scraper or a putty knife.
- In case of Adhered Glue: In case it is difficult to remove the glue, use a chisel or a stiff scraper.
- Clean the subfloor: Remove Excess Dirt and Residue from the Subfloor
Using Solvents
- Tools: Solvent, paintbrush, gloves, eye protection, respirator mask
- Steps:
- Select a Suitable Solvent: Always use a solvent which is specifically made for dissolving flooring adhesive.
- Try in an out of sight area: Test This solvent on a hidden area of your subflooring to ensure that it doesn’t harm the material.
- Use the Solvent: Apply the solvent with a paintbrush, leave for recommended time.
- Scrape It Off: Use a scraper or putty knife to scrape away the softened adhesive.
- Scrub the Subfloor: Wash off with soapy water and clean up extra residue — both solvent and adhesive — from the subfloor.
Sanding
- Supplies: Floor sanding belts, dust mask, safety glasses
- Steps:
- Pattern of the Grit: You need to use a coarser grit sandpaper in order to get rid of any thick adhesive residue.
- Sanding: Sand the base floor carefully, remember that you are not damaging the material, you press with equal pressure.
-
Wipe off the Subfloor to Get rid of any dust particles and soil.
Remember, safety first! Always use the right protective gear to include gloves, safety glass, and respirator mask when sanding or using solvents. Always Test Solvents in an Inconspicuous Area Before Using Them on Your Sub-Floor
How It Works: Recycling Flooring, Skip Bins, and Responsible Practices
With the removal of the former floor flooring and the adhesive residue in the last challenge, now it´s time to prepare everything for a new start. First, old flooring materials must responsibly be disposed of.
Carpet Disposal
The thing with carpet, however, is that it can be a bit of an issue when it comes to disposal, seeing as recycling carpet can be somewhat of a challenge. But, there are options available for some, depending on where you live.
- Recycling: Some local waste-management facilities have carpet recycling programs; check to see if they are available at yours.
- Local Charities: Some local charities may take used carpets as donations if they are in good condition.
- Skip Bin: If you have a large quantity consider hiring a skip bin to take the proper disposal of the carpet.
Tile Disposal
The Tile Disposal, also has recycling way.
- Recycling Centers: Contact your local recycling center or waste management facility to inquire about whether or not they will accept shattered tiles.
- Skip Bin: If you have a lot of tiles to store, such as a roof or pool, you can consider to skip the bin.
Vinyl and Linoleum Disposal
As well, vinyl or linoleum flooring might contain asbestos, which can have dire health consequences.
- Asbestos Testing: Test the flooring to check for asbestos if it was installed before the 1980s.
- Original Removal: If the presence of asbestos is confirmed, you should follow this. Hired a professional asbestos removal company, Best way to eliminate and dispose of it safely.
- Use a Skip Bin: Only if the flooring is confirmed to be asbestos free.
Laminate Disposal
Recycling & Laminate flooring… this can be tricky.
- Recycling: Ask your local waste management facility if they accept laminate floors.
- Skip Bin: For bulk amounts of laminate flooring with underlayment.
Hardwood Disposal
For all hardwood flooring, the ability to be properly managed and reused is a very important category to be considered.
- RePurpose: Sand and refinish old boards in good condition to make them like new again in Olympic, Provincial or Pale Ale.
- Skip Bin: Put damaged hardwood into a skip bin for adequate disposal.
Be sure to properly discard flooring materials, reducing waste and promoting sustainable initiatives.
Flooring Removal: Frequently Asked Questions
Should I remove old flooring before installing new?
Of course you need to remove the old flooring before the switch of the floor. It helps create an even, level surface for your new flooring, preventing problems such as lumps, bumps and warping. Moreover, it gives you scope to well inspect the sub-floor to diagnose any potential issue before laying the new floor.
Best Tools for Flooring Removal
You can also make the use of common tools such as a pry bar, hammer, utility knife, and a circular saw, along with gloves for safety. Chisel, heat gun, and floor scraper: may need to use additional tools since the flooring might be a different type.
How to Properly Dispose of Old Flooring Materials?
Different types of flooring require different methods of disposal. Call your local waste management and recycling centers to see if they take any materials. Hire a skip bin for more massive amounts. If you think that there may be asbestos, you must consult with an asbestos removal company. Make sure to always attempt to responsibly dispose of and minimize the waste of alterables.